3. Create your first provider
3.1 What a provider is
Section titled “3.1 What a provider is”A provider is the identity of your business, your shop, or yourself that appears on the header of every document, including a quotation (ใบเสนอราคา), an invoice (ใบแจ้งหนี้), and a receipt (ใบเสร็จรับเงิน). This level stores only business identity details such as names, addresses, and tax numbers, with no financial figures attached. You can set up more than one provider under a single account if you run multiple businesses.
You create a provider before anything else because Ezer attaches every project and document to the business that owns the work. Until at least one exists, the app sends you back to the provider list each time.
3.2 Your account is activated first
Section titled “3.2 Your account is activated first”During this preview period Ezer runs on limited access, so a newly registered account cannot create a provider straight away. If you open the provider list and see that your account is awaiting activation, it is queued. Press ตรวจสอบอีกครั้ง to check the current status.
Waiting does not stop you working. If a colleague shares their provider with you, you can enter it and work on what you have been given access to, without waiting for your own activation.
3.3 What you fill in
Section titled “3.3 What you fill in”Once your account is activated, open the provider list and press สร้างผู้ให้บริการ to start entering your business details.
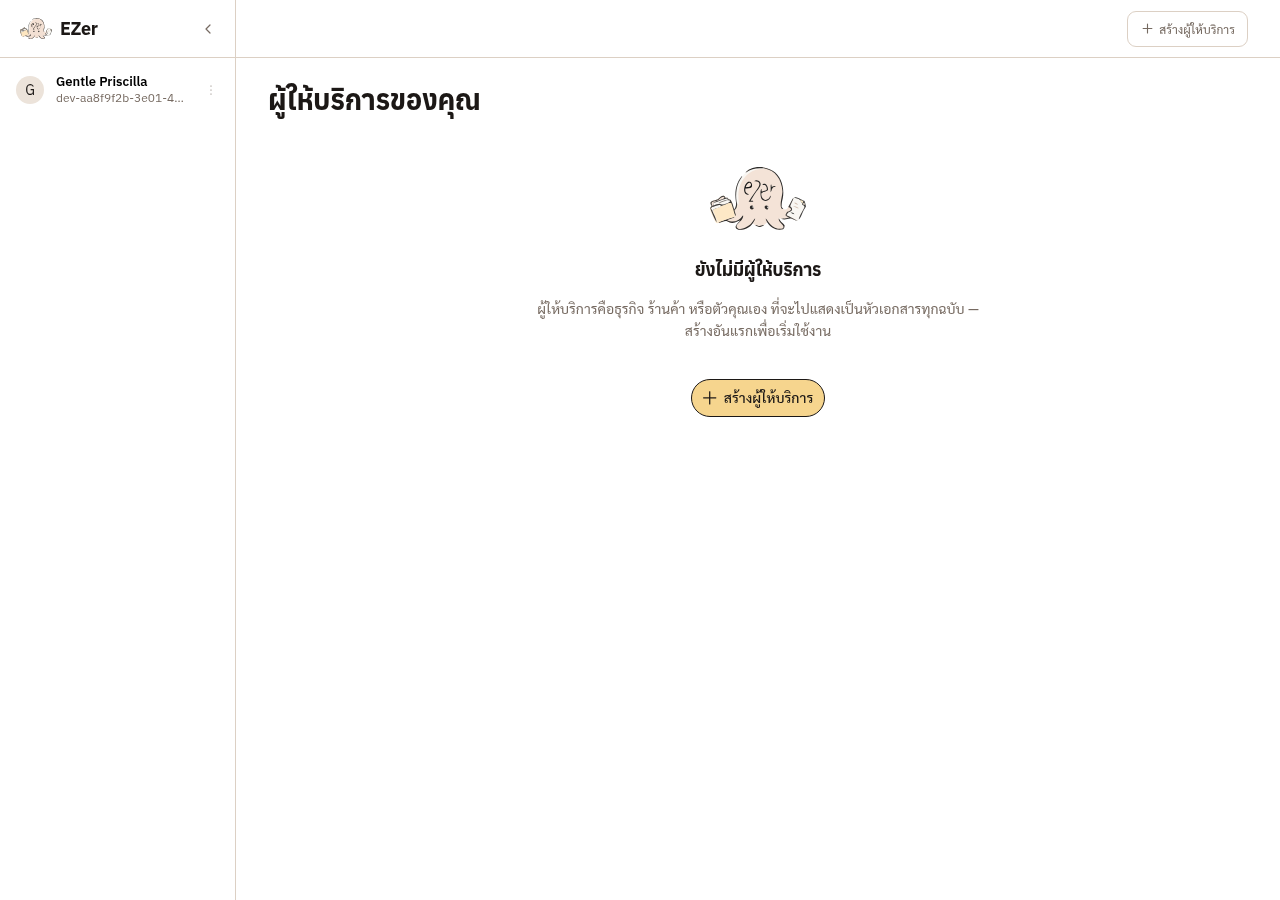
Figure 3-1: The provider list of an account with no providers yet — this is the button to press.
Three steps
- Open the provider list and press สร้างผู้ให้บริการ.
- Fill in the ชื่อผู้ให้บริการ exactly as registered with the Revenue Department. This is the only mandatory field — the save button stays disabled until you do.
- Press สร้างผู้ให้บริการ at the foot of the form. That is enough to start working.
The remaining fields, whenever you are ready
| Field | Fill it in when |
|---|---|
| เลขประจำตัวผู้เสียภาษี | Before you issue a real bill — it appears on the document. |
| ที่อยู่จดทะเบียน | Before you issue a real bill; it prints on your receipts and invoices. |
| ประเภท | If you are not an individual. Choosing another type adds a สาขาที่ field; 00000 is a head office. |
| จดทะเบียนภาษีมูลค่าเพิ่ม | If your business is registered for VAT. |
| ชื่อภาษาอังกฤษ · ที่อยู่ภาษาอังกฤษ | Only if you issue documents in English. Leave blank and the Thai values are used. |
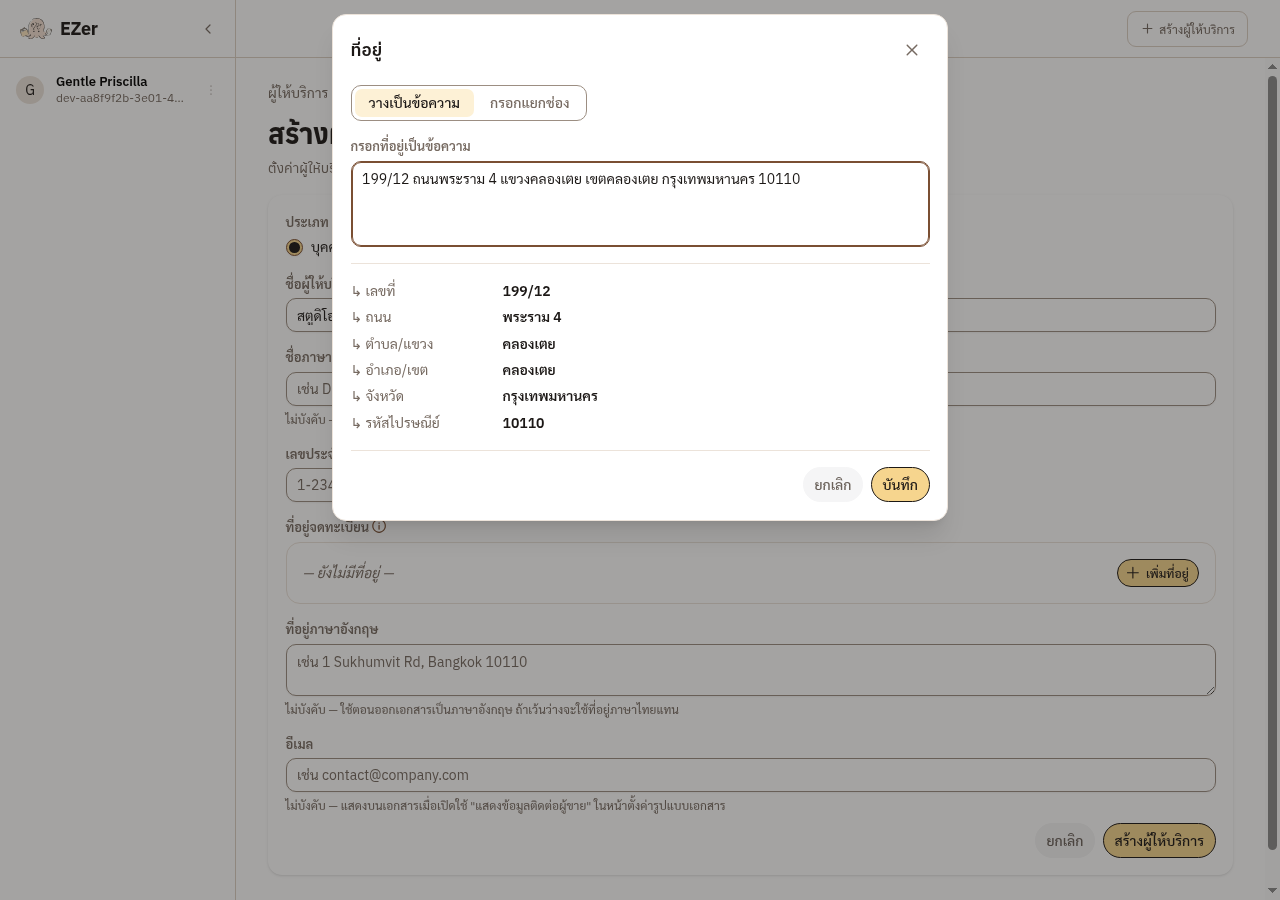
Figure 3-2: The registered address opens in its own box: paste the address as one block and Ezer splits it into fields for you to check.
The app shows naming guidance for whichever type you pick. For บุคคลธรรมดา give your full name with the title as it appears on your ID card or your ภ.พ.20. For บริษัท use the full name on your company affidavit, including the words บริษัท and จำกัด. For ห้างหุ้นส่วน and มูลนิธิ use the full registered form of the name.